


First-time setup
Complete the first-run steps of a new Bonita Process Designer instance: sign in as the default admin, change the password, activate the license, register the installation, and decide on AI and product analytics.
The first time you open a new instance of Bonita Process Designer, a short setup sequence runs before the application is usable. An administrator completes it. Once it is done, you can create users, organize diagrams, and start modeling.
The steps run in this order:
-
Sign in as the default administrator.
-
Change the default password.
-
Activate the license.
-
Register the installation, with the company name and, optionally, an OpenAI API key.
-
(Optional) Configure AI generation and opt in to product analytics.
|
You complete this sequence once per installation. Later, users simply sign in and reach Home. |
Sign in as the default administrator
A new installation has a single account, an administrator, so that you can perform the setup. Open the application in your browser and sign in with the default credentials:
Username: admin
Password: admin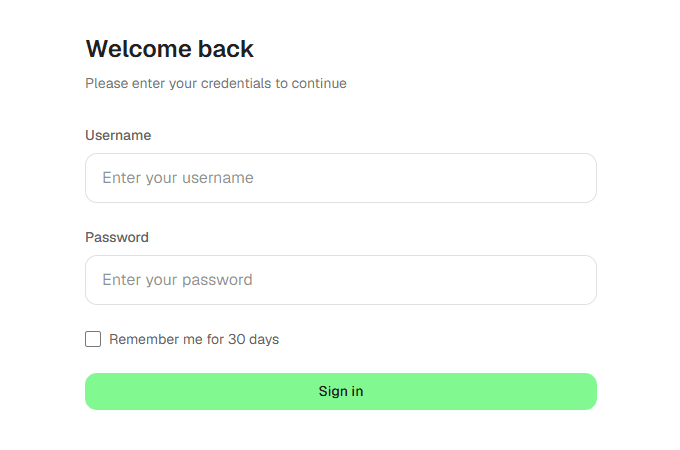
|
The default credentials are well known. The next step forces you to change the password: never leave a production instance on the default password. |
Change the default password
The default administrator account must change its password. As soon as you sign in, Bonita Process Designer shows the Change Your Password form, and you cannot continue until you set a new password.
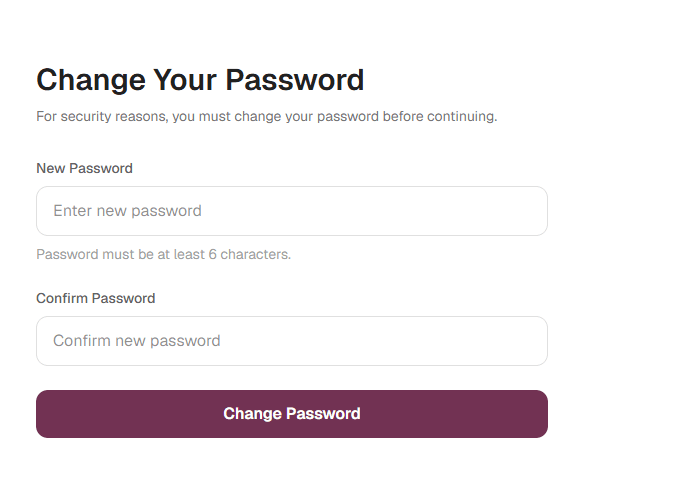
The new password:
-
must be at least 6 characters long, as the hint under the field says;
-
must be different from the current password;
-
must be typed identically in both fields.
Activate the license
Bonita Process Designer requires a valid license. While no valid license is installed, every user who signs in, whatever their role, is sent to the license page, and the application refuses every request except sign-in and the license page. Only an Admin can install the license: other users see the notice License Not Active, which asks them to contact their administrator.
On the license page, copy the request key that identifies your installation, use it to generate a license on the Customer Service Center, then upload the resulting .lic file. License validation is local: it needs no network access. For the detailed procedure, see Manage the license.
|
A license is bound to the host it was issued for, so generate it from the request key shown by the instance you are activating. A license issued for one host is not accepted on another. See Manage the license if you later move the application to new hardware. |
Register the installation
Once the license is active, Bonita Process Designer asks an Admin to register the installation, on the Complete Installation Setup form. Until the installation is registered, an Admin who signs in is brought back to this form.
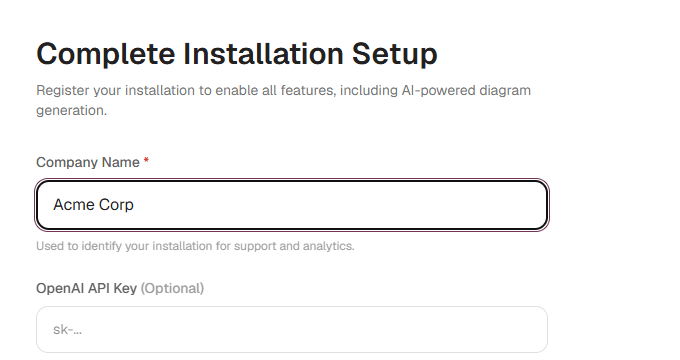
The form has two fields:
-
Company Name — the name of your organization. It is required, and it cannot be changed after registration.
-
OpenAI API Key — optional. If you have an OpenAI key for AI generation, you can enter it here. You can leave it empty and configure AI providers later, as described in Configure AI and product analytics.
Select Complete Registration.
|
Registration needs outbound network access. If it fails because of a network problem, the form stays open and you can retry. On a network with no direct internet access, configure an outbound proxy first. In the Docker distribution, see Configure an outbound HTTP(S) proxy. In the standalone distribution, set |
Configure AI and product analytics
After registration, a one-time banner tells the administrator that product analytics and the retention of AI prompts are opt-in, and points to the settings.
AI generation. An Admin configures AI generation from Admin → Settings:
-
AI generation needs an API key for at least one provider: OpenAI, Anthropic or Gemini.
-
Saving a key requires the AI prompt retention consent described below. Revoking that consent disables AI generation but does not delete the keys. To enable AI generation again, an Admin gives the consent again and saves a provider key.
-
For the per-group AI quota, see Manage AI quota.
-
While AI is not configured, the Generate with AI option on the welcome screen of a new, empty diagram stays visible but is disabled, with the text "Ask an administrator to configure AI". A user who chooses Generate with AI while creating a diagram lands on that screen.
Data collection. Two separate opt-ins, both off until an Admin enables them from the administration settings:
-
Product analytics — usage events sent to the product analytics service, PostHog. Until an Admin enables the Product Analytics setting, no analytics event is sent. Once it is enabled, each user’s browser sends the events directly to PostHog, so PostHog receives the IP address of that browser, and the outbound proxy of the application does not apply to them. The events never carry diagram content, AI prompts, diagram titles, folder names, search terms or user names. They carry:
-
counts, identifiers and the user’s role, plus the company name of the installation;
-
the browser, the operating system and the user agent, the screen size, the language and the time zone;
-
the address of the page, without its query string and with the names in its path replaced by placeholders. It still includes the host name of your installation.
-
-
AI prompt retention — the consent for the AI service to retain the prompts and the generated diagrams sent to it, under its own retention policy. AI generation through the provider keys of the admin settings needs it.
Each one shows a clause to read and confirm before it is enabled. Enabling one does not enable the other. See Application settings.
Setup complete
Once the password is changed, the license is active, and the installation is registered, the application is ready. The administrator can now:
-
Create additional users and assign roles — see Manage users.
-
Create groups to scope data access — see Manage groups.
-
Adjust application settings — see Application settings.
-
Start creating diagrams — see Create your first diagram.